Photoshop Guides
Creating Data
Photoshop Guides
Guides are non-printable vertical and horizontal lines that you can position anywhere you like in your document window. They are displayed as solid blue lines by default, but this can be changed to other colours or dashed lines in the Preferences panel.
Unlike Illustrator, Photoshop doesn’t have an easy way of creating trim marks. To indicate the safety, trim and bleed areas instead, we must use Photoshop guides. The better way to set your document up in Photoshop is when creating a new document, you can add bleed right away. At Metro Print we require a 3mm bleed, that means you need to add 6mm to both the width and height of the document.
For example, let’s create an A6 size document (File > New). An A6 (100mm wide by 148mm high) needs to be setup as 106 mm wide by 154mm high. For the resolution we suggest 350 pixels per inch. Then, click on OK.
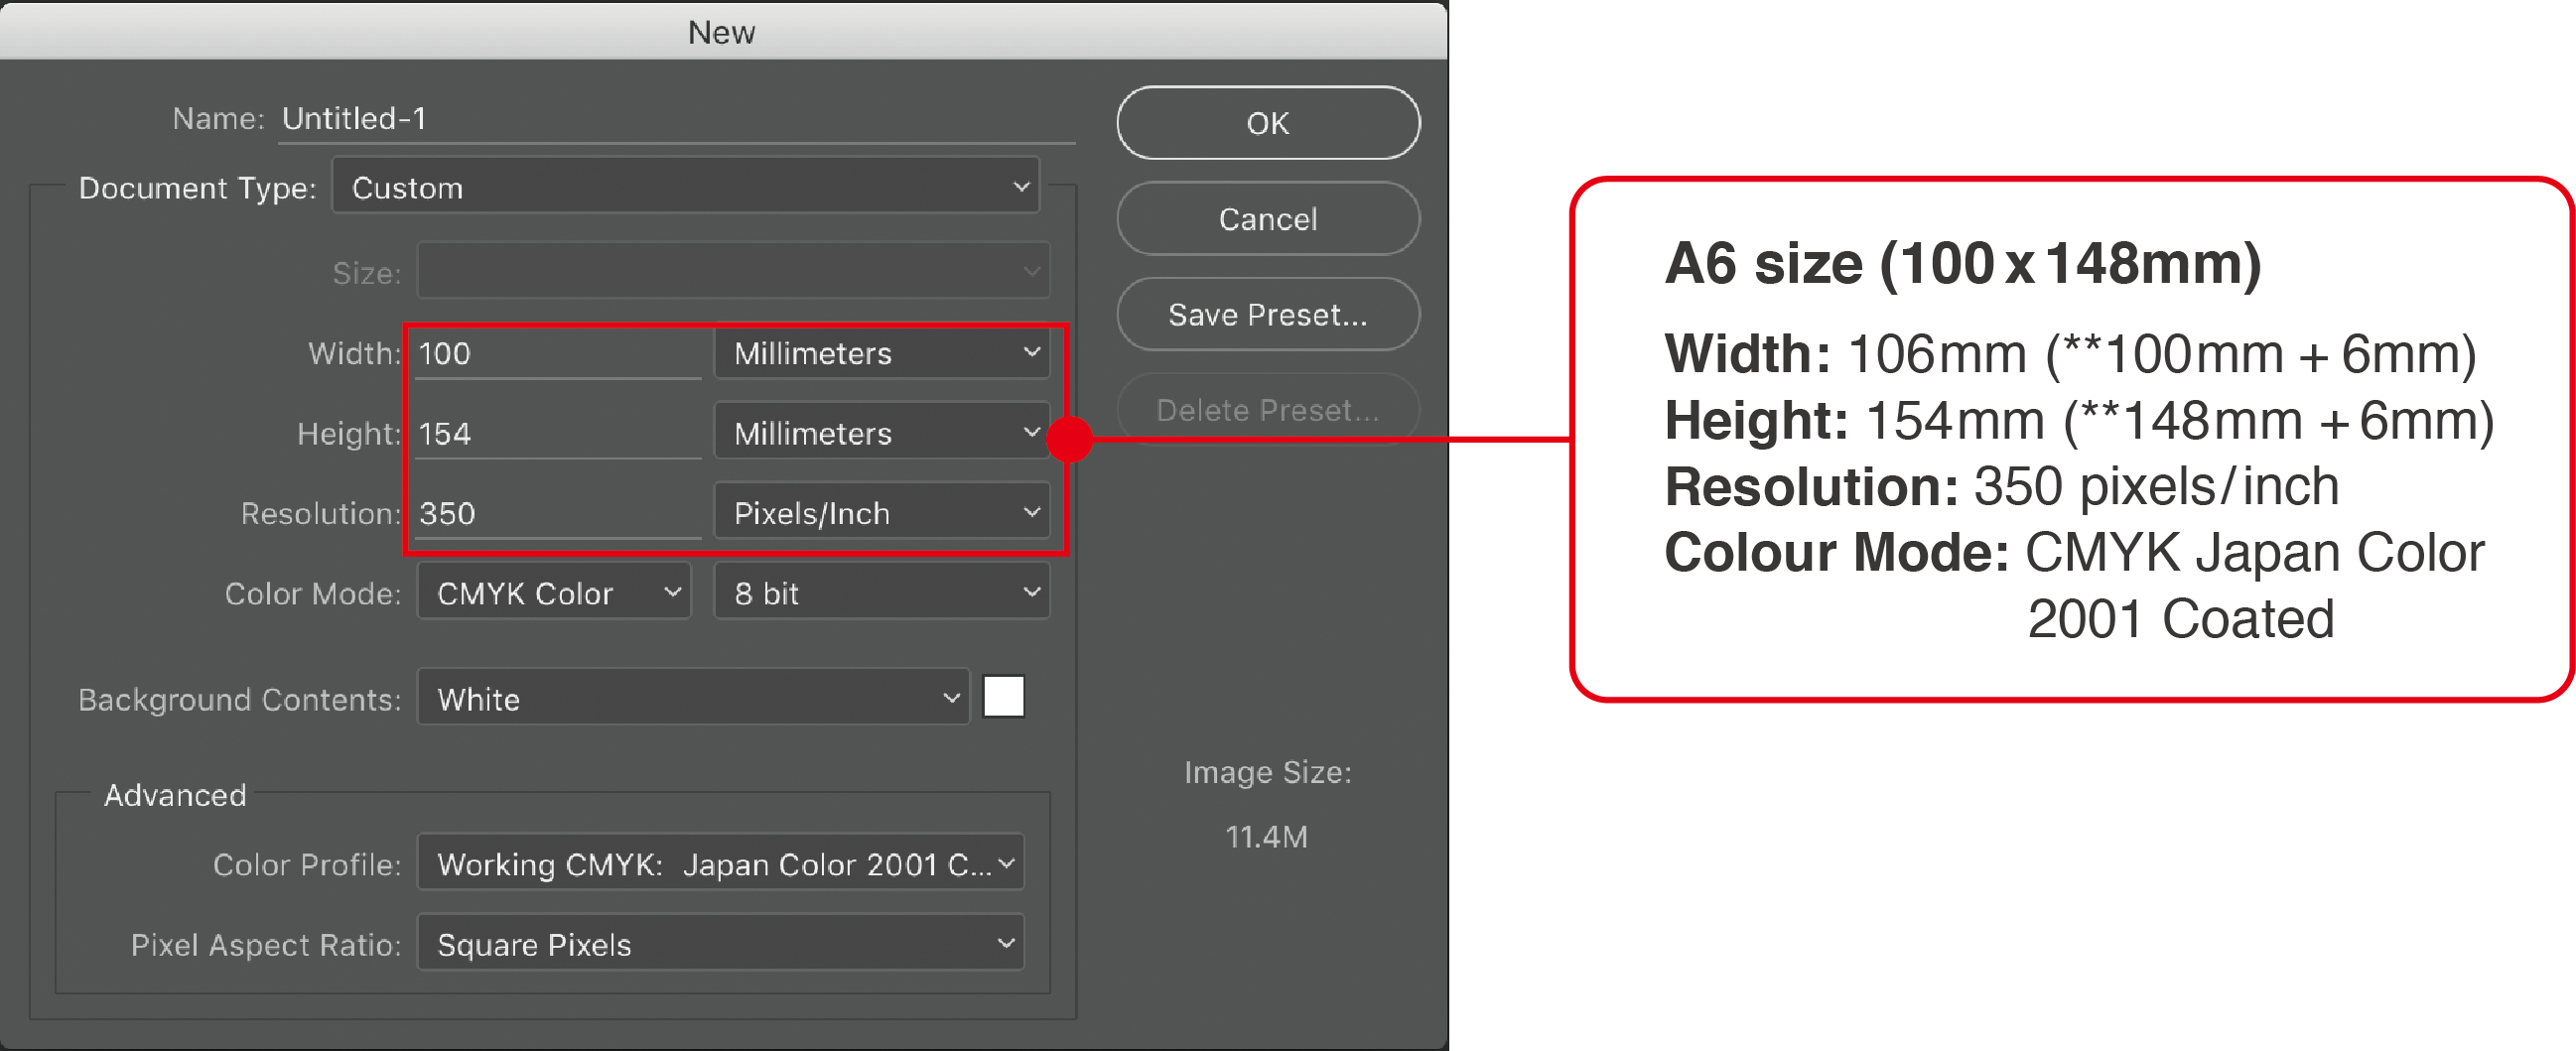
Creating guides in Photoshop
There are two ways to create guides in Photoshop. We’ll go over both ways and let you decide which method works best for you.
With your document open, choose: View > New Guide. This will open up a window. Select Vertical, then next to Position enter 3. Press OK (this will create a thin blue vertical guide line at the 3mm mark). Next, create a guide for the right side, but this time use 103 for Position. Press OK (and this creates one on the right side). For the remaining two guides, choose Horizontal, then use 3mm for the top and 151mm for the bottom.
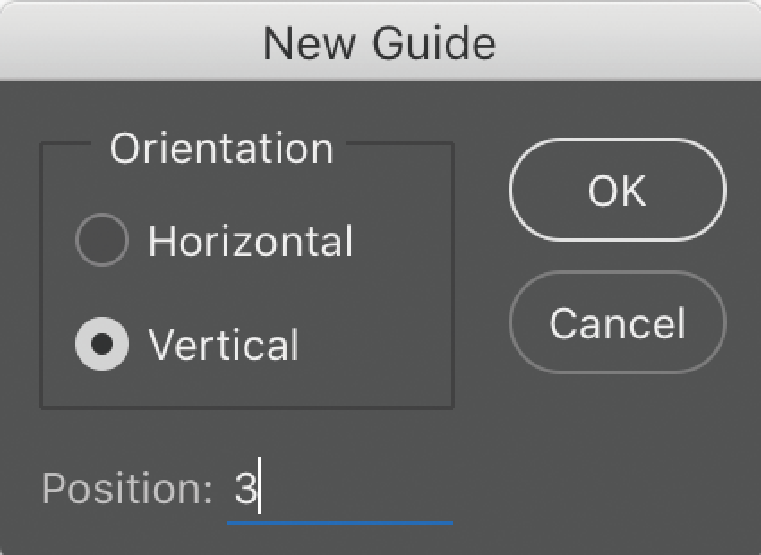
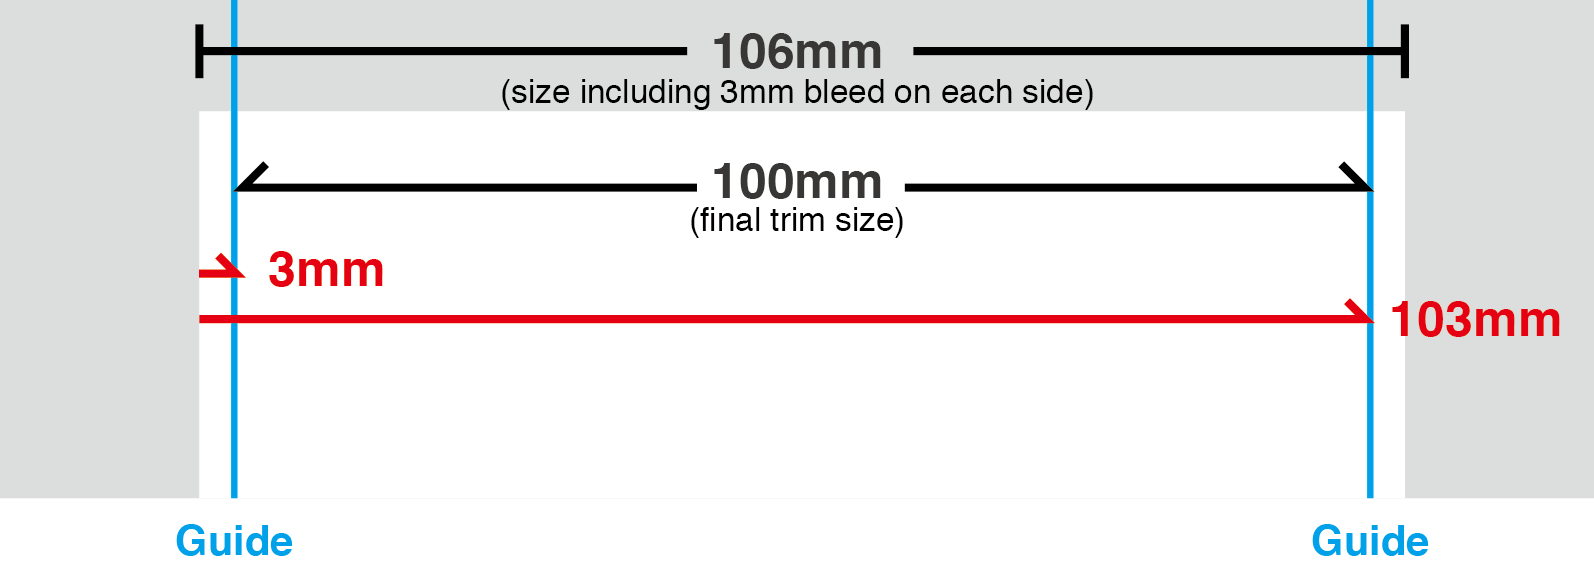
for A6 size (100 x 148mm)
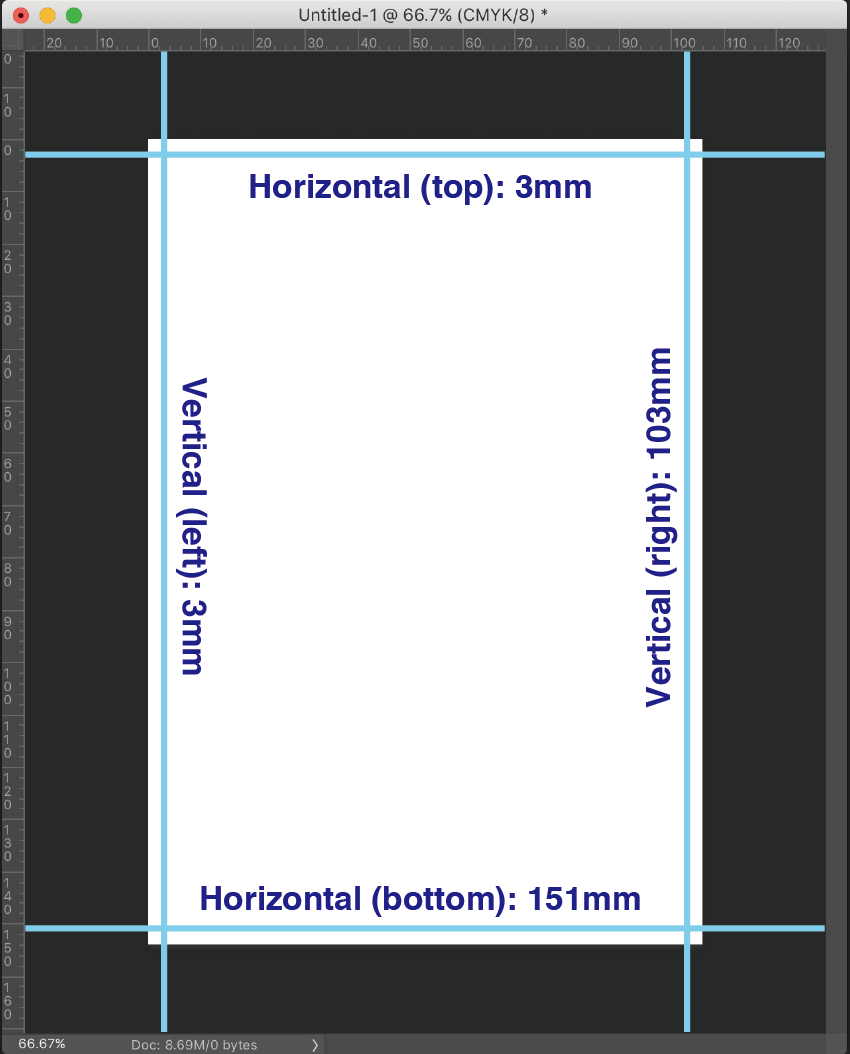
Next, we create the safety area guides, where you will want to keep all of your important content inside of.
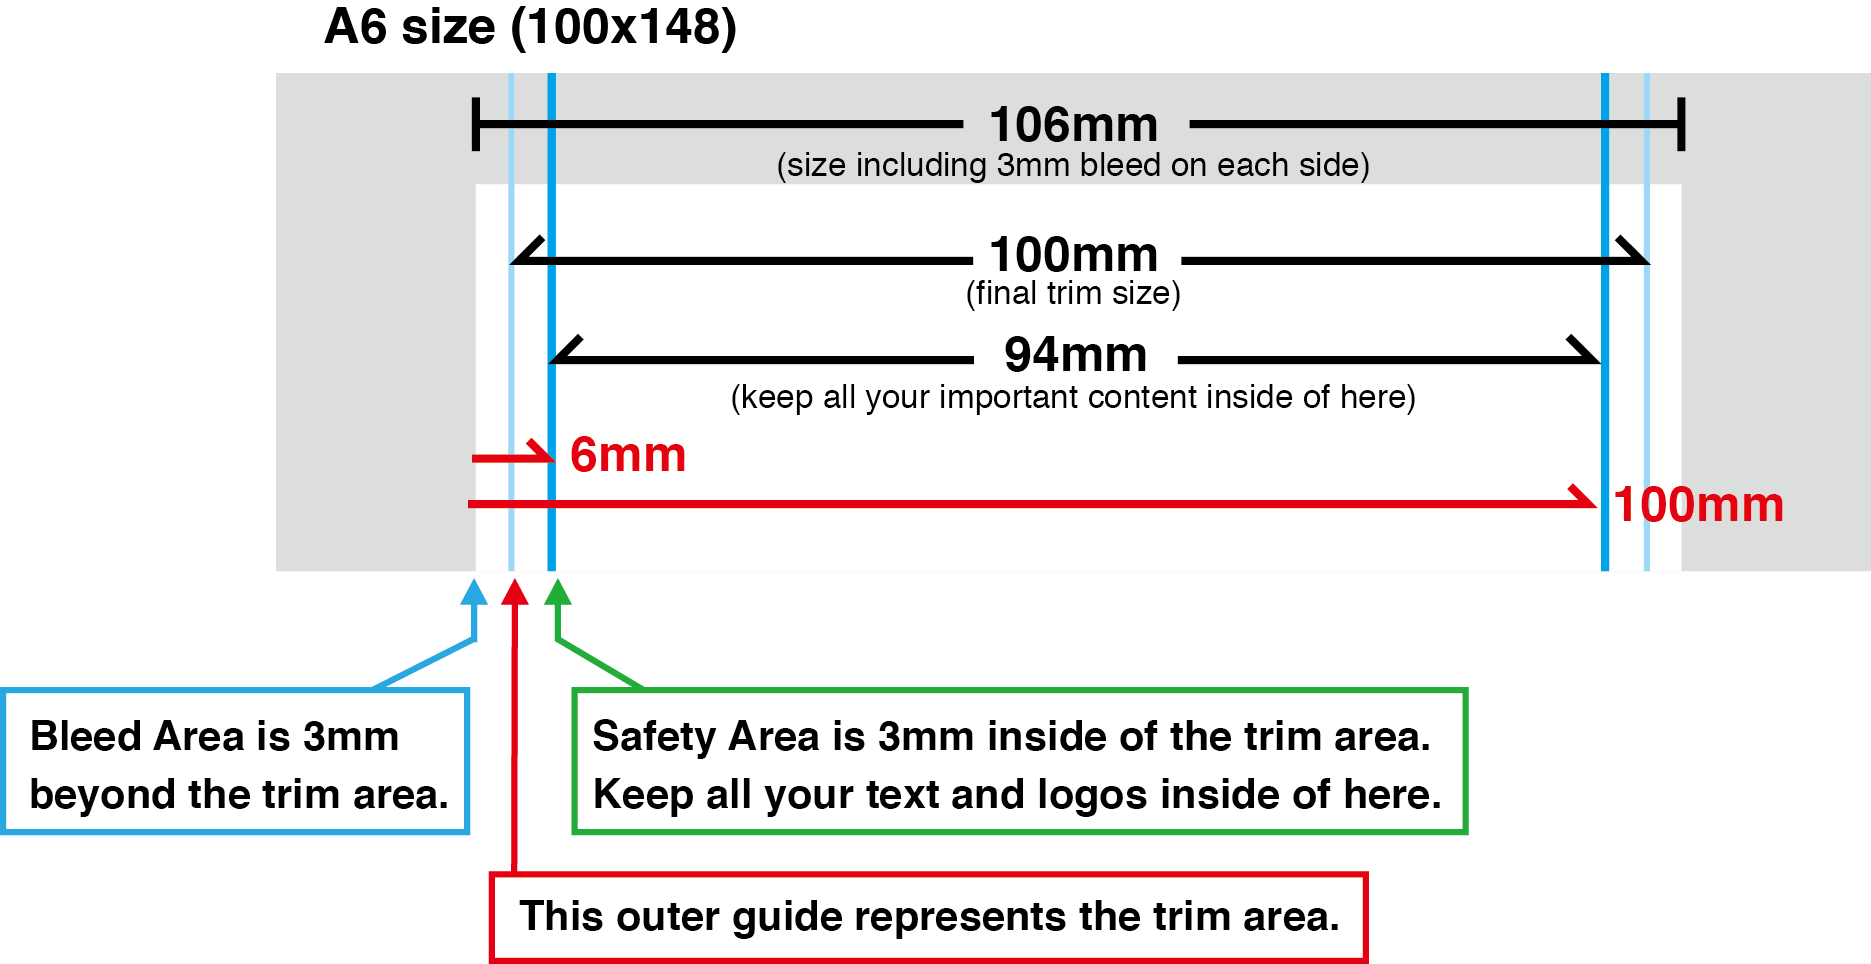
for A6 size (100 x 148mm)
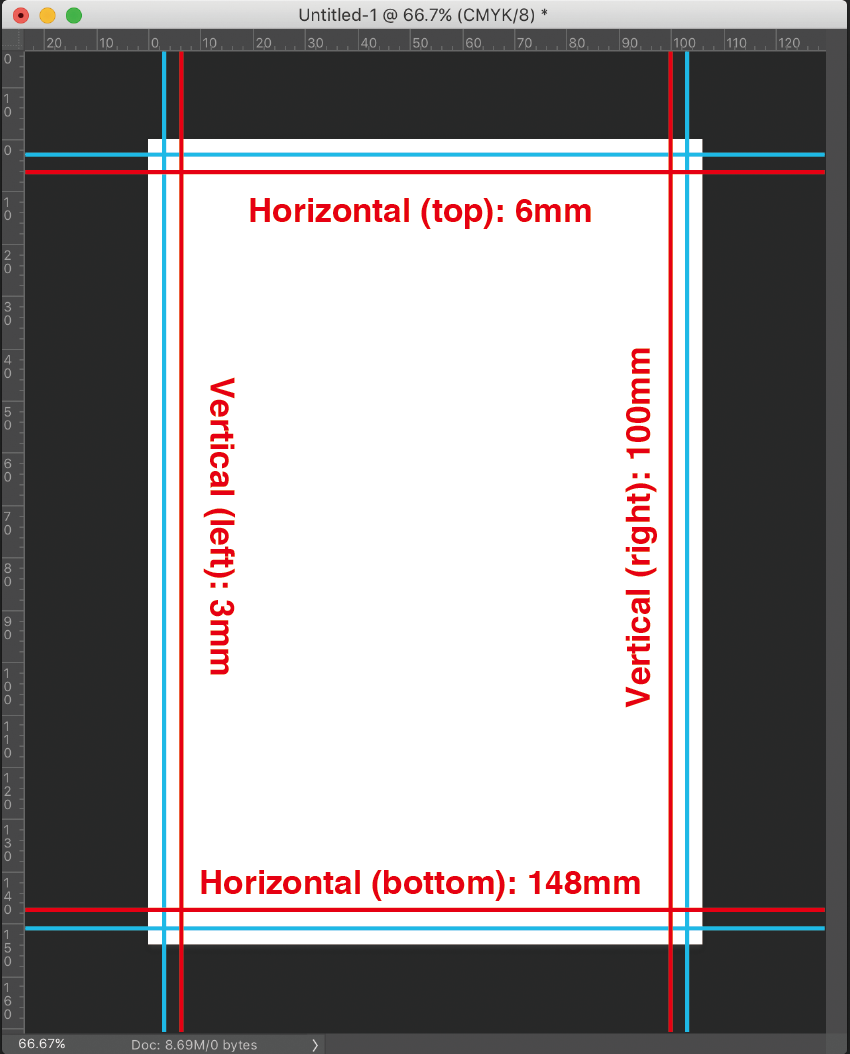
First, let’s make sure that rulers are visible in your document. If you see them, great. If not, then:
Choose, View > Rulers


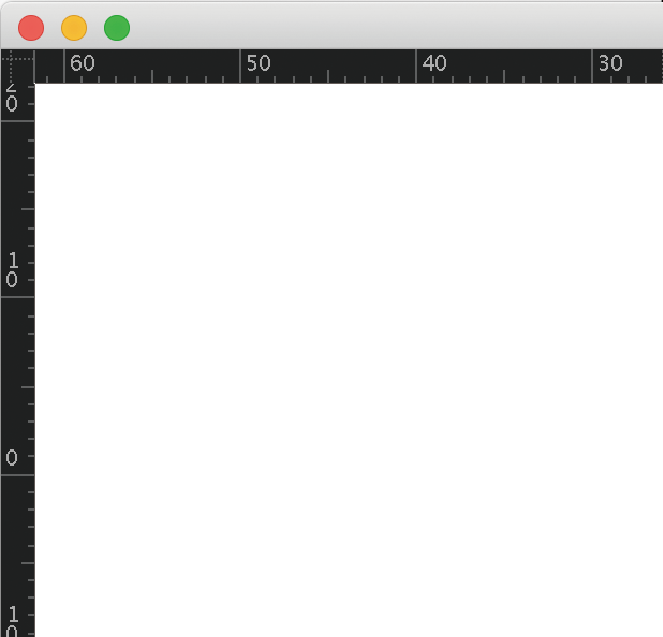
Click in the horizontal ruler and drag down to create a new horizontal guide. Release the mouse button when the guide is in the location you want. Or click in the vertical ruler and drag to the right to create a new vertical guide. When you release the mouse button, your new guide stops.
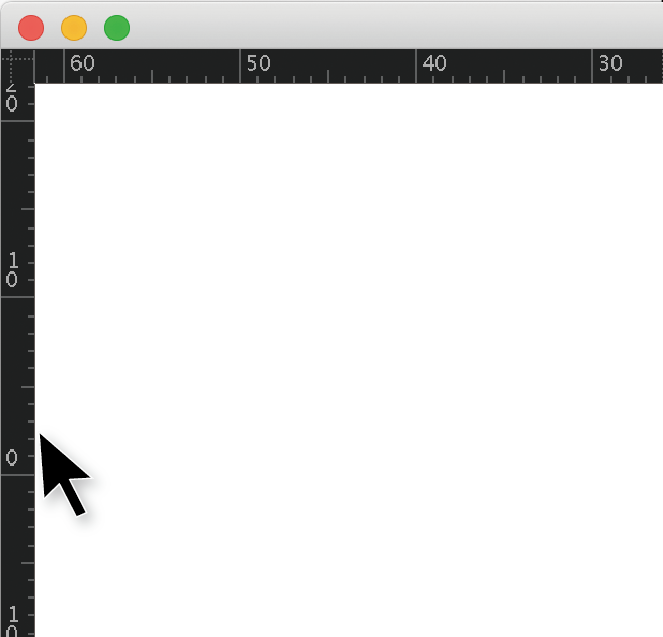

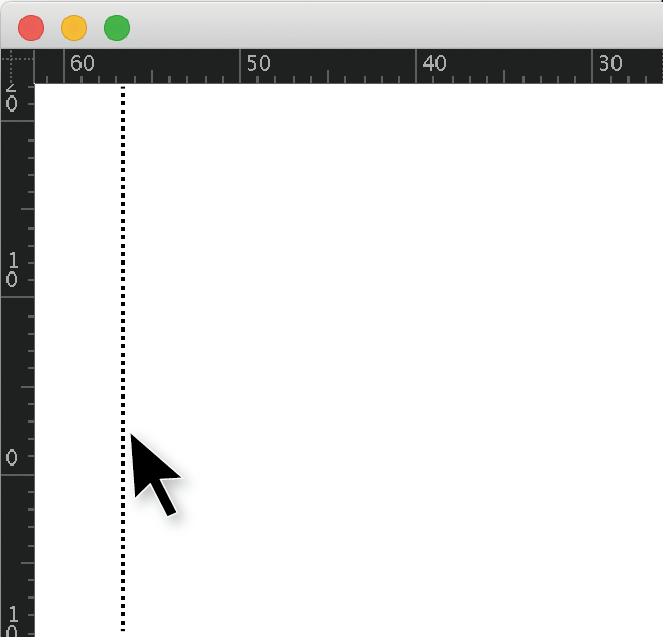

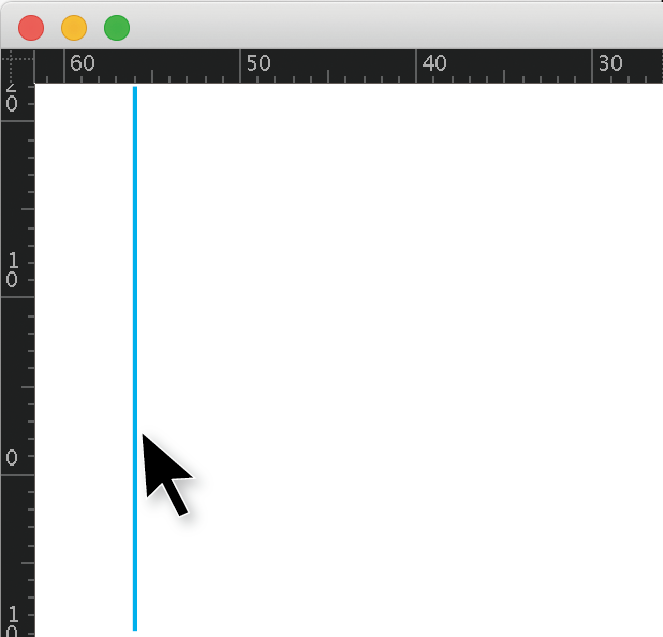
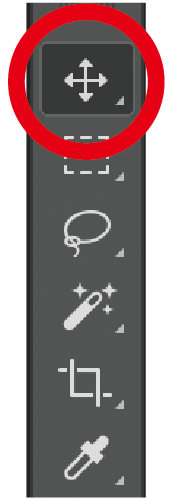
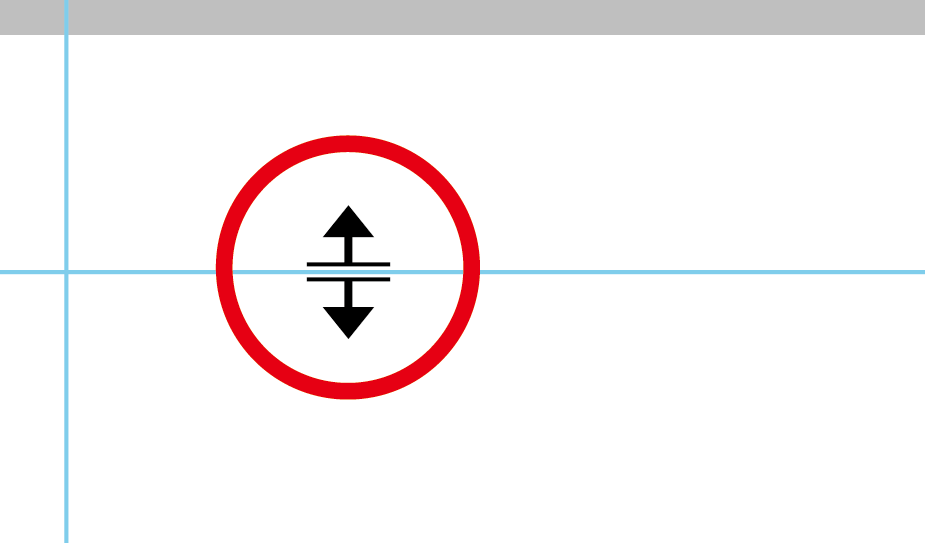
If your guides are slightly out of position, use the Move tool (press V to activate it) to reposition your guides. With the Move tool, hover over your guides, click (and hold) to move them. You can delete the guide by dragging it back to the rulers.


 info@metroprint.ph
 0945 826 3908
 0945 826 3908