What are custom envelopes?
Tips & Tricks
Custom Envelopes
Unlike our ready-made envelopes which come pre-folded, our custom envelopes are printed and put together from the ground up. First we print your design on large flat press sheets, next we stamp the seamless envelope shapes out using our precision die-cut machine. Then, we fold and glue your envelopes and they are ready to use! Because we start with flat paper, we can print your colourful full bleed designs and cover the entire surface with ink if so desired (even on the flap!). These custom envelopes are made to be loved.
Custom Envelopes
- Printed first, then die-cut, folded and glued into envelopes.
- Printed with a full bleed (colour goes to the edge).
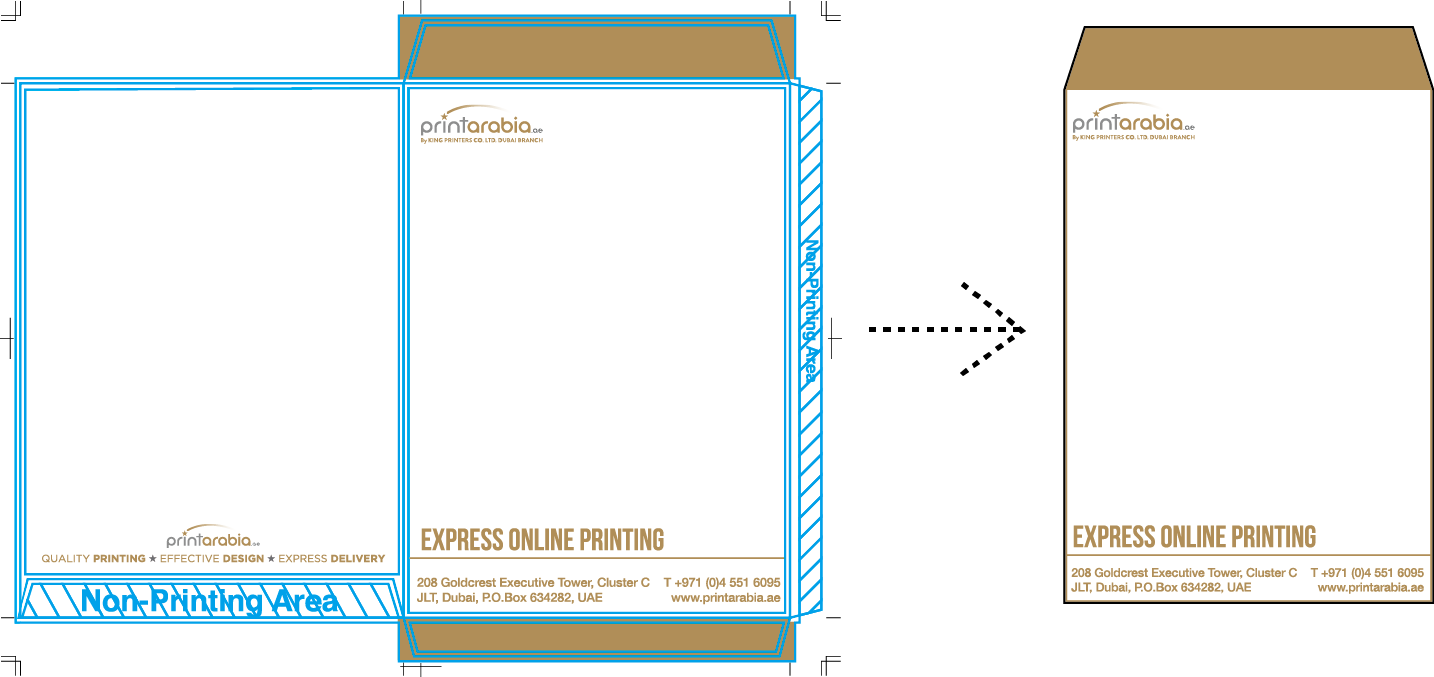
We start with a flat sheet of paper, so your design can have a full edge. Good for simple designs, complex designs or designs with pictures.
Ready-made Envelopes
- Pre-folded envelopes.
- 5mm margin, no printing on flap.
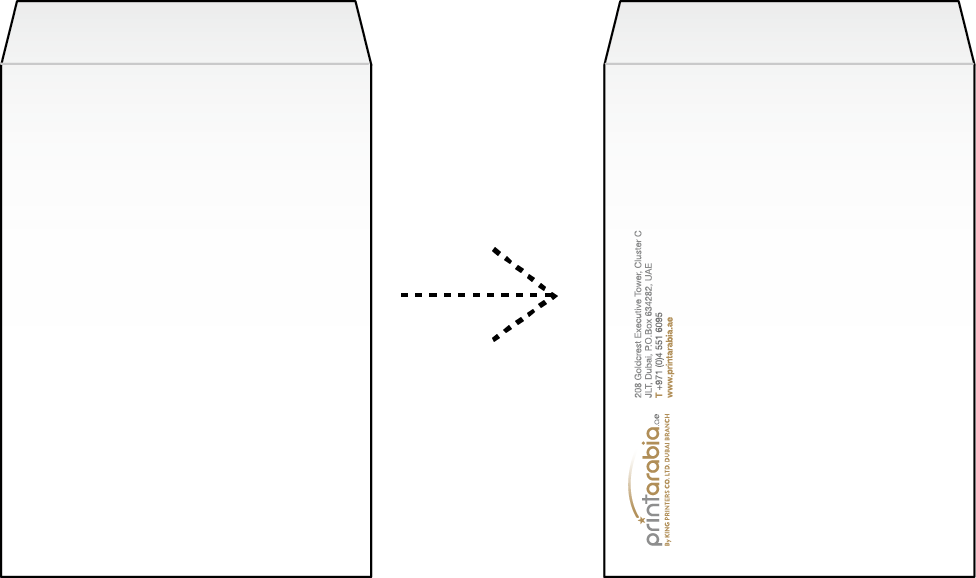
Ready-made envelopes are pre-folded and have a margin on all sides. Ideal for simple text base designs.
Understanding the envelope templates
First, lets open up one of our full colour envelope templates. Each template comes setup with the required trim marks and guides, so all you need to do is just set your design up. If you do not see these guides, you must first enable your guides. From the View menu, choose Guides > Show Guides.
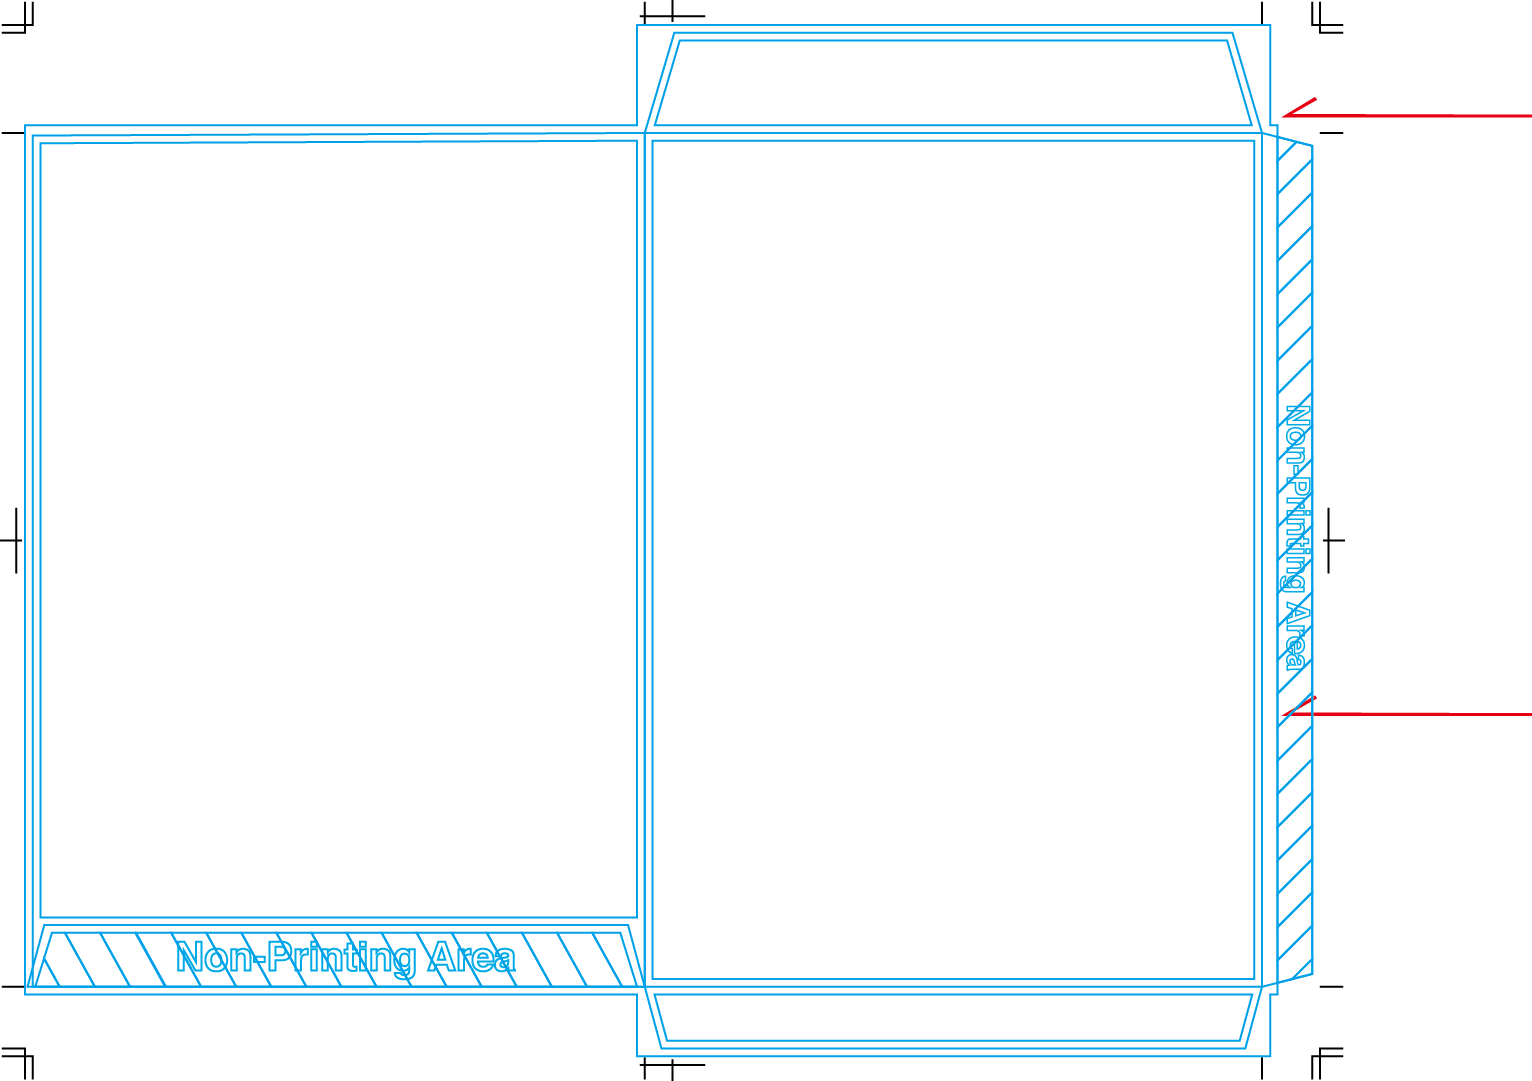
Bleed Line
For our custom envelope die shape,
we need your bleed to extend to this line.
Non-Printing Area
This shaded area with diagonal lines is the area we use to glue and assemble. Please do not put any design here.
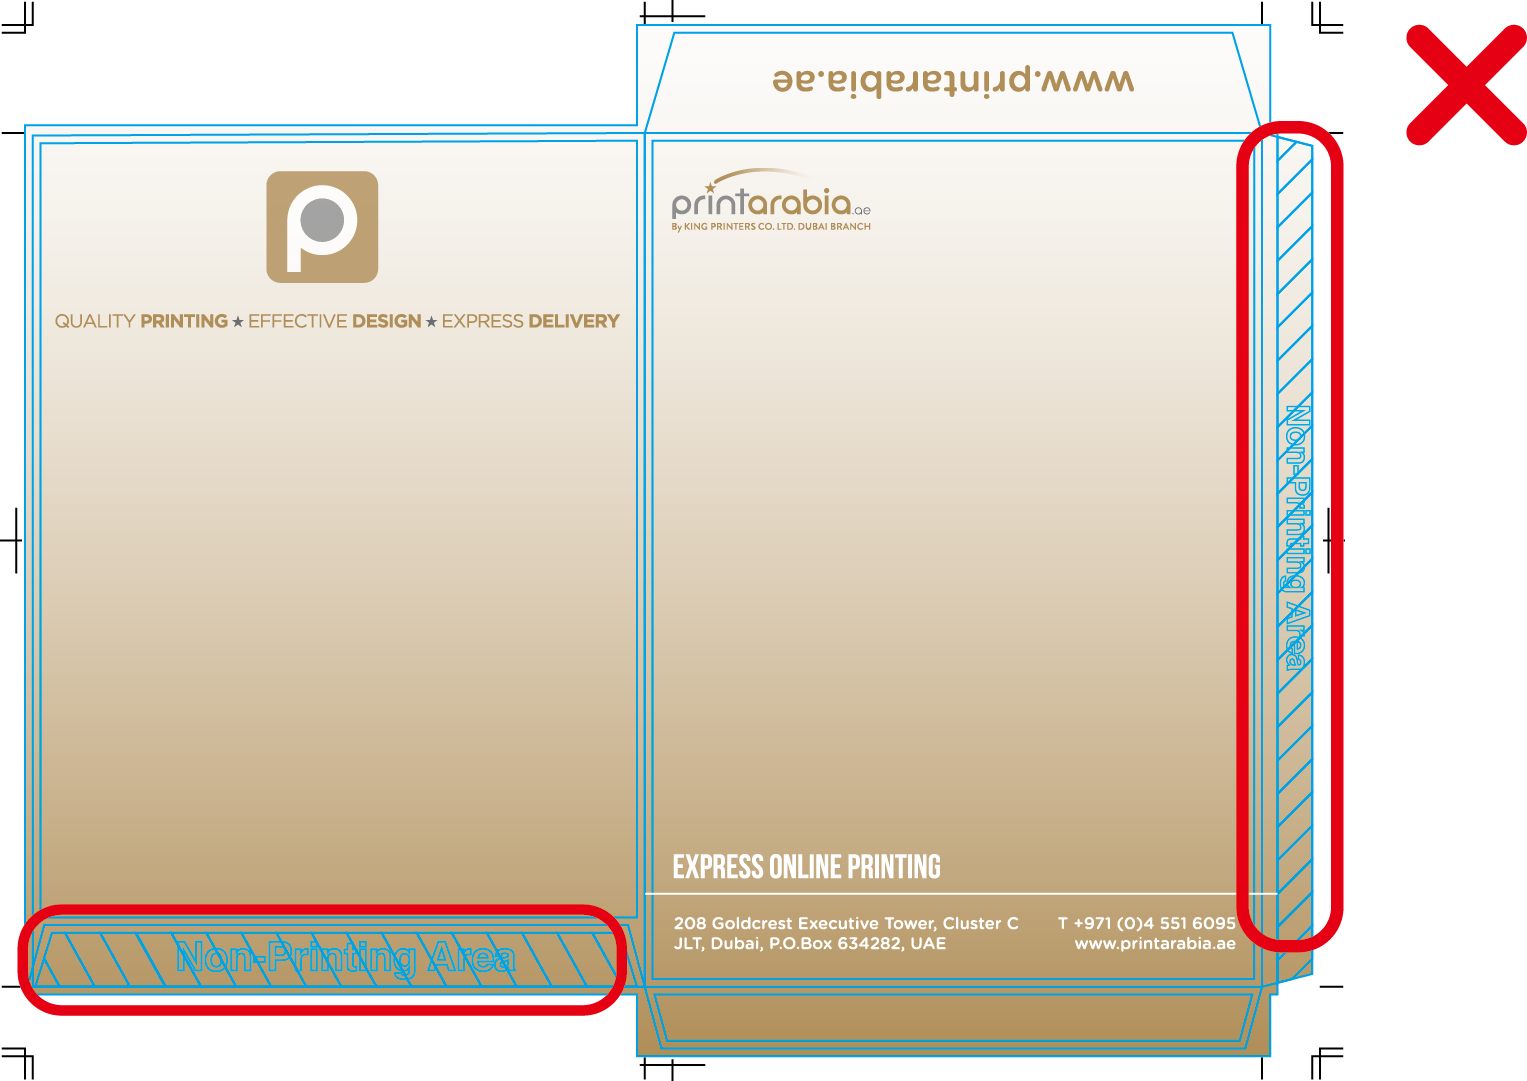
The design cannot go into the Non-Printable Area.
The Non-Printable Area needs to be clear (without designs) because this area will be glued and used to assemble the envelopes.
Do's and Don'ts when laying out your design
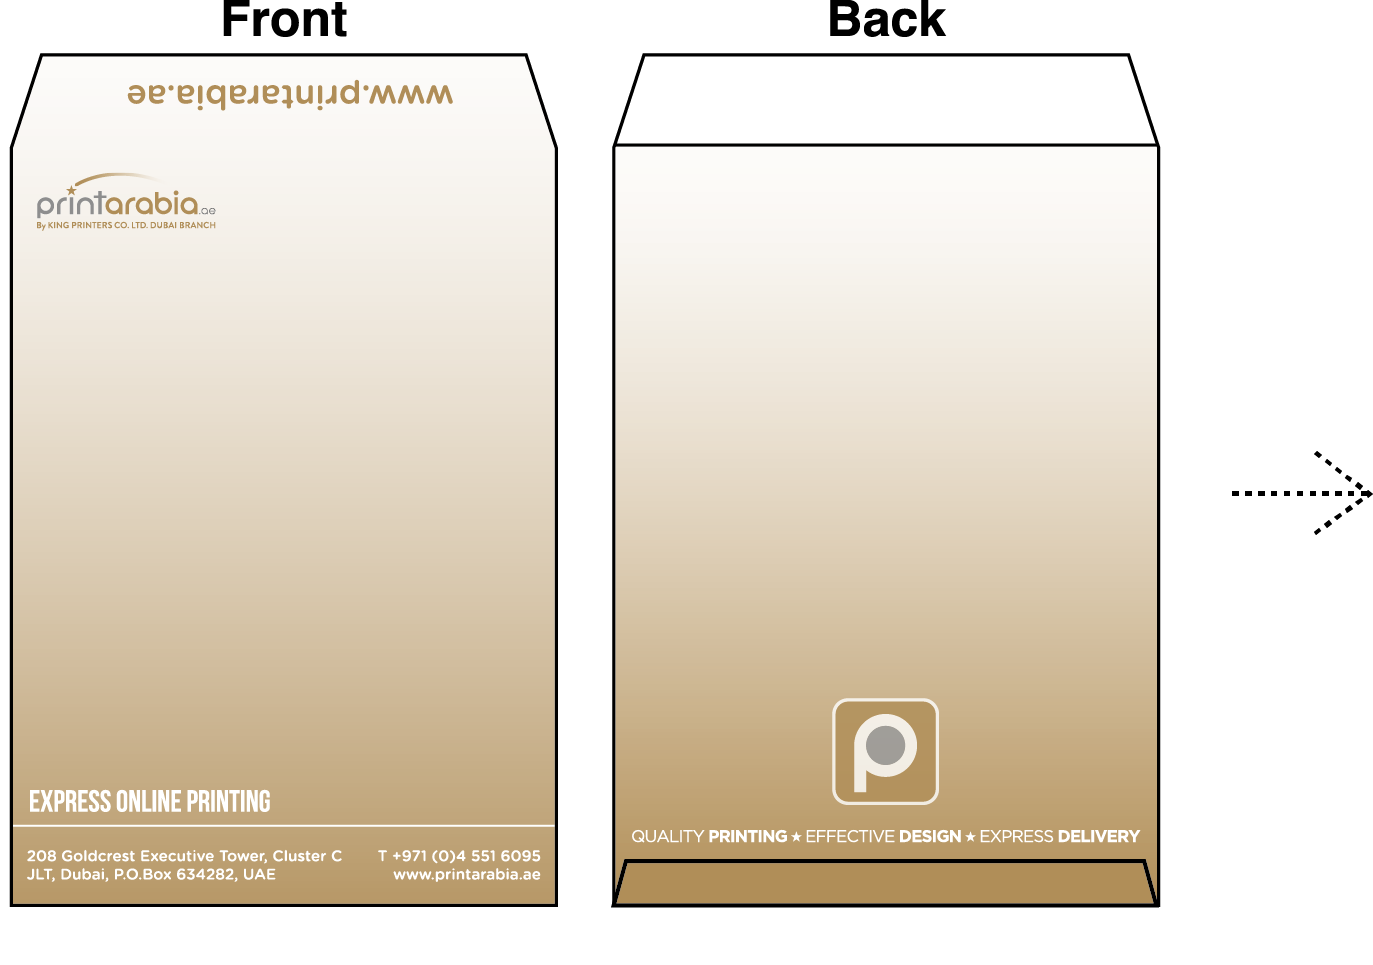
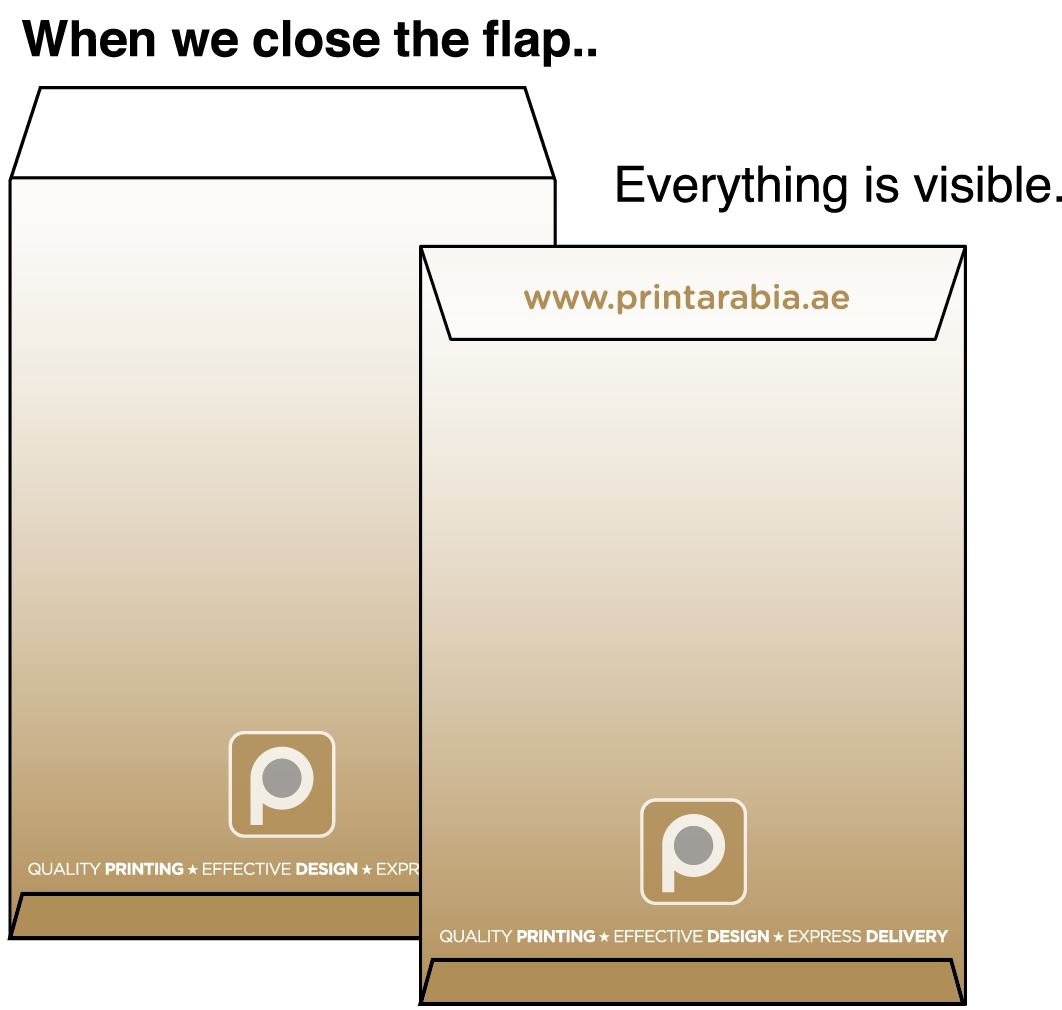
When positioning elements on your envelope layout, it’s important to keep in mind moving parts like the envelope flap.
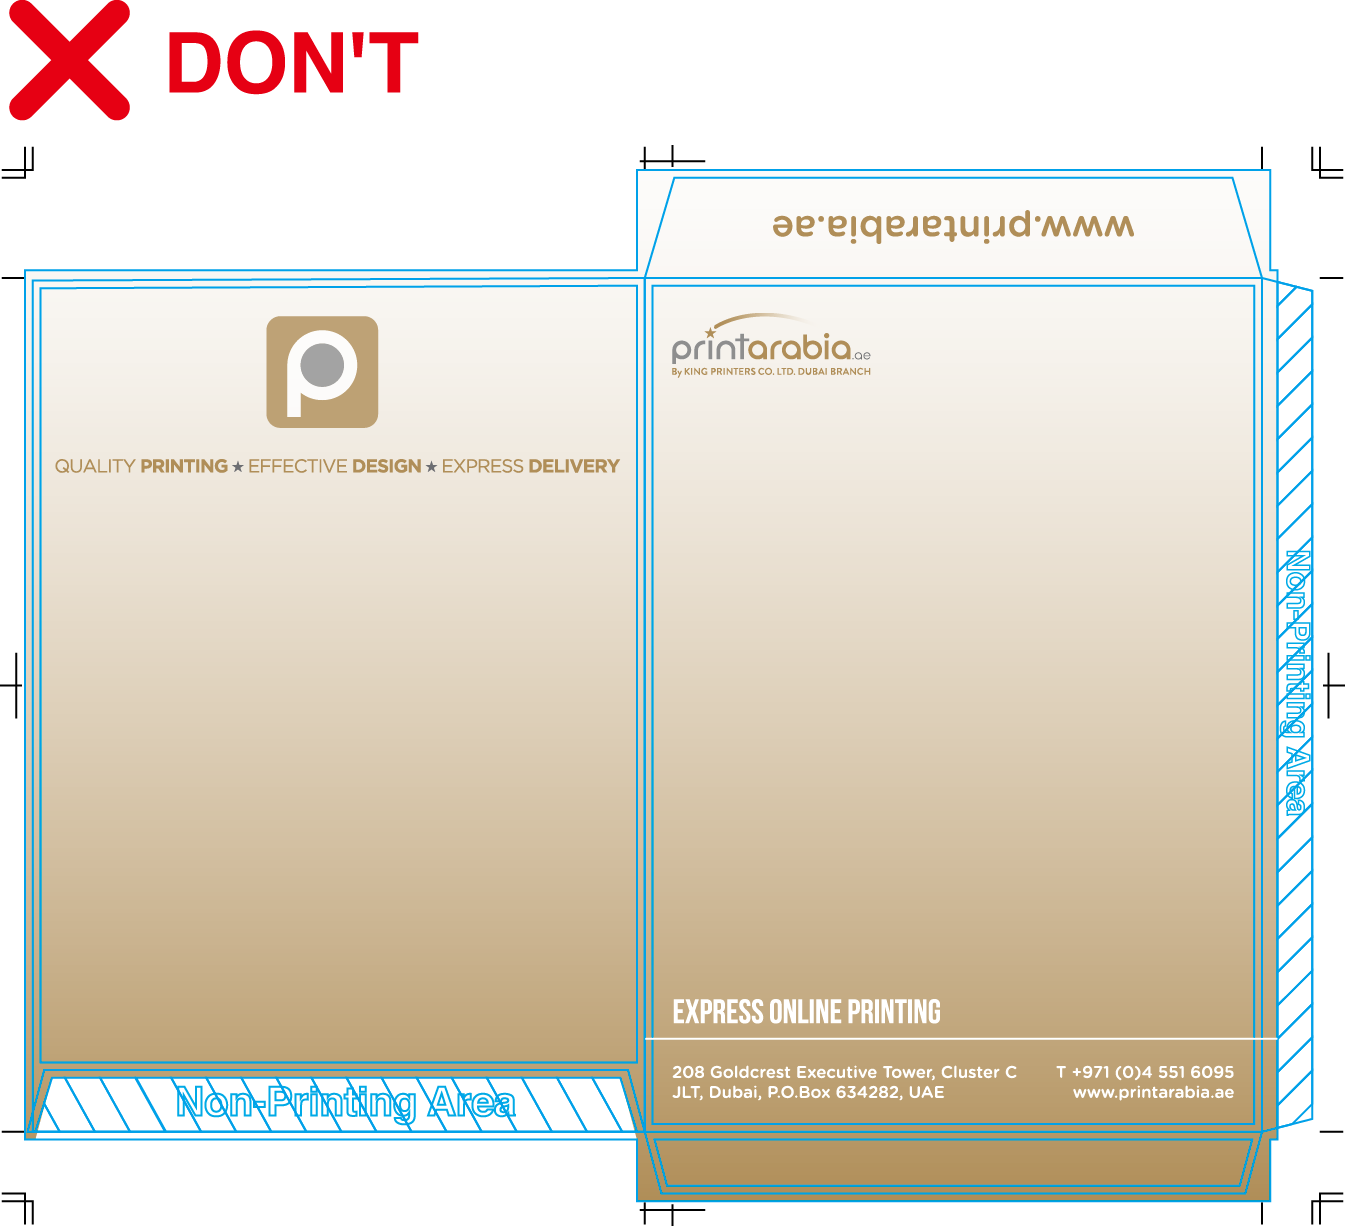
At first glance, the layout to the left might look like it’s ready for printing. The bleed is setup all the way to the outer edge. All the text is inside the innermost safety area. Everything is where it should be right?
If the layout to the left were to go to press, the contents on the top portion of the back side of the envelope would be covered by the flap is closed or sealed shut.
Had you placed a telephone number, logo or other important information here, it would have not have been seen by anyone receiving or using your envelopes!
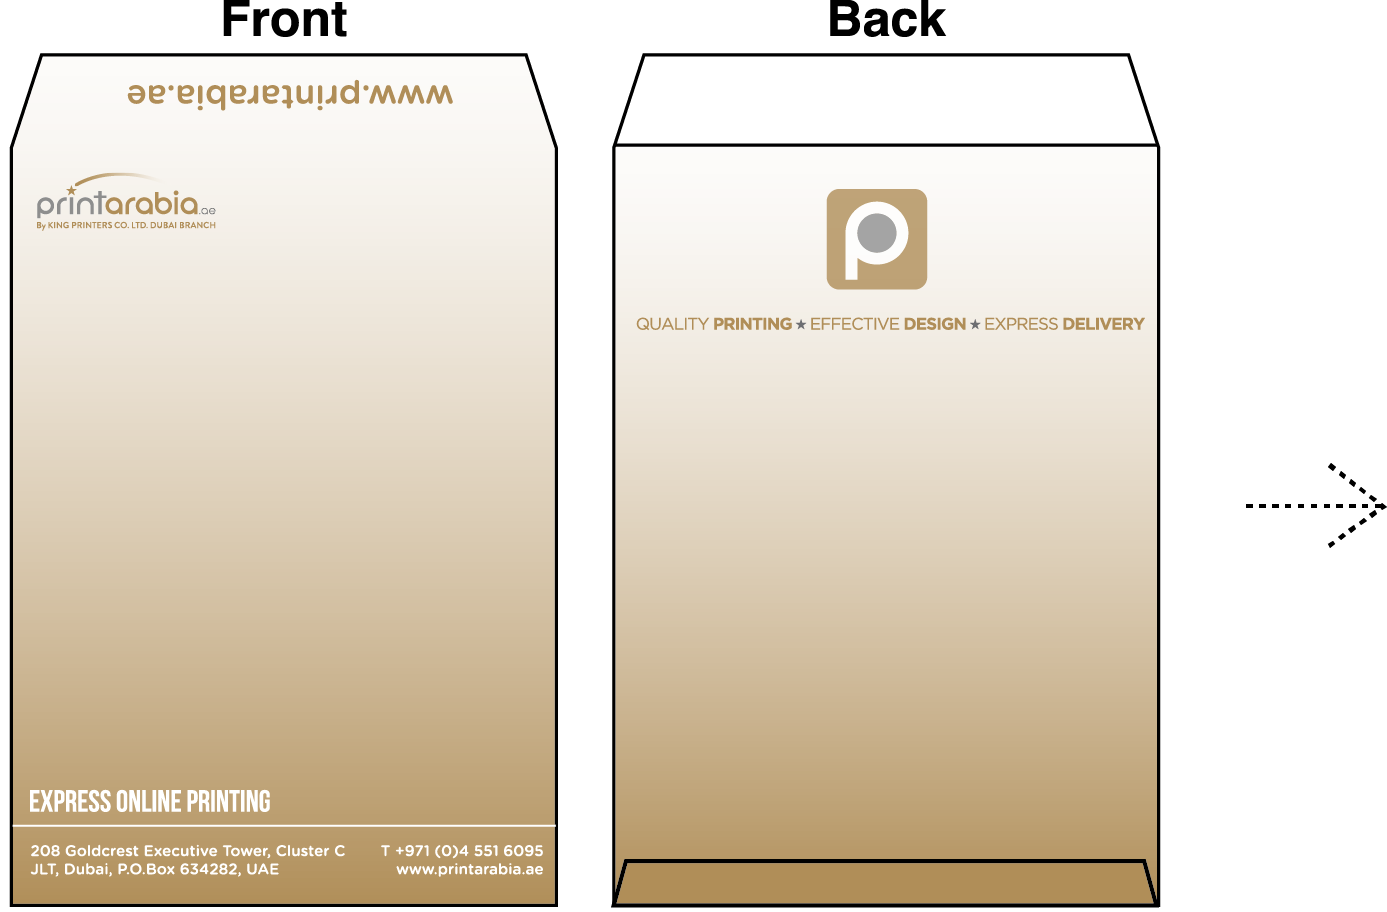
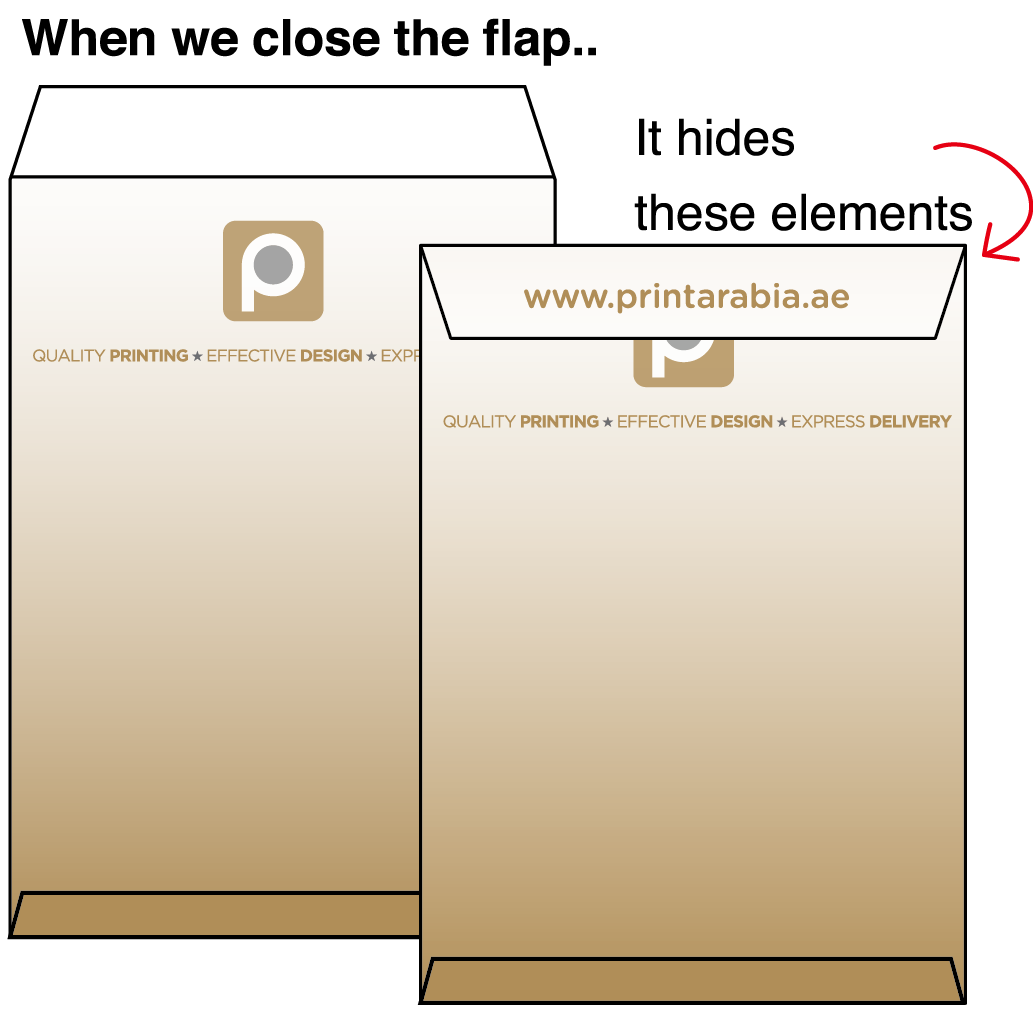
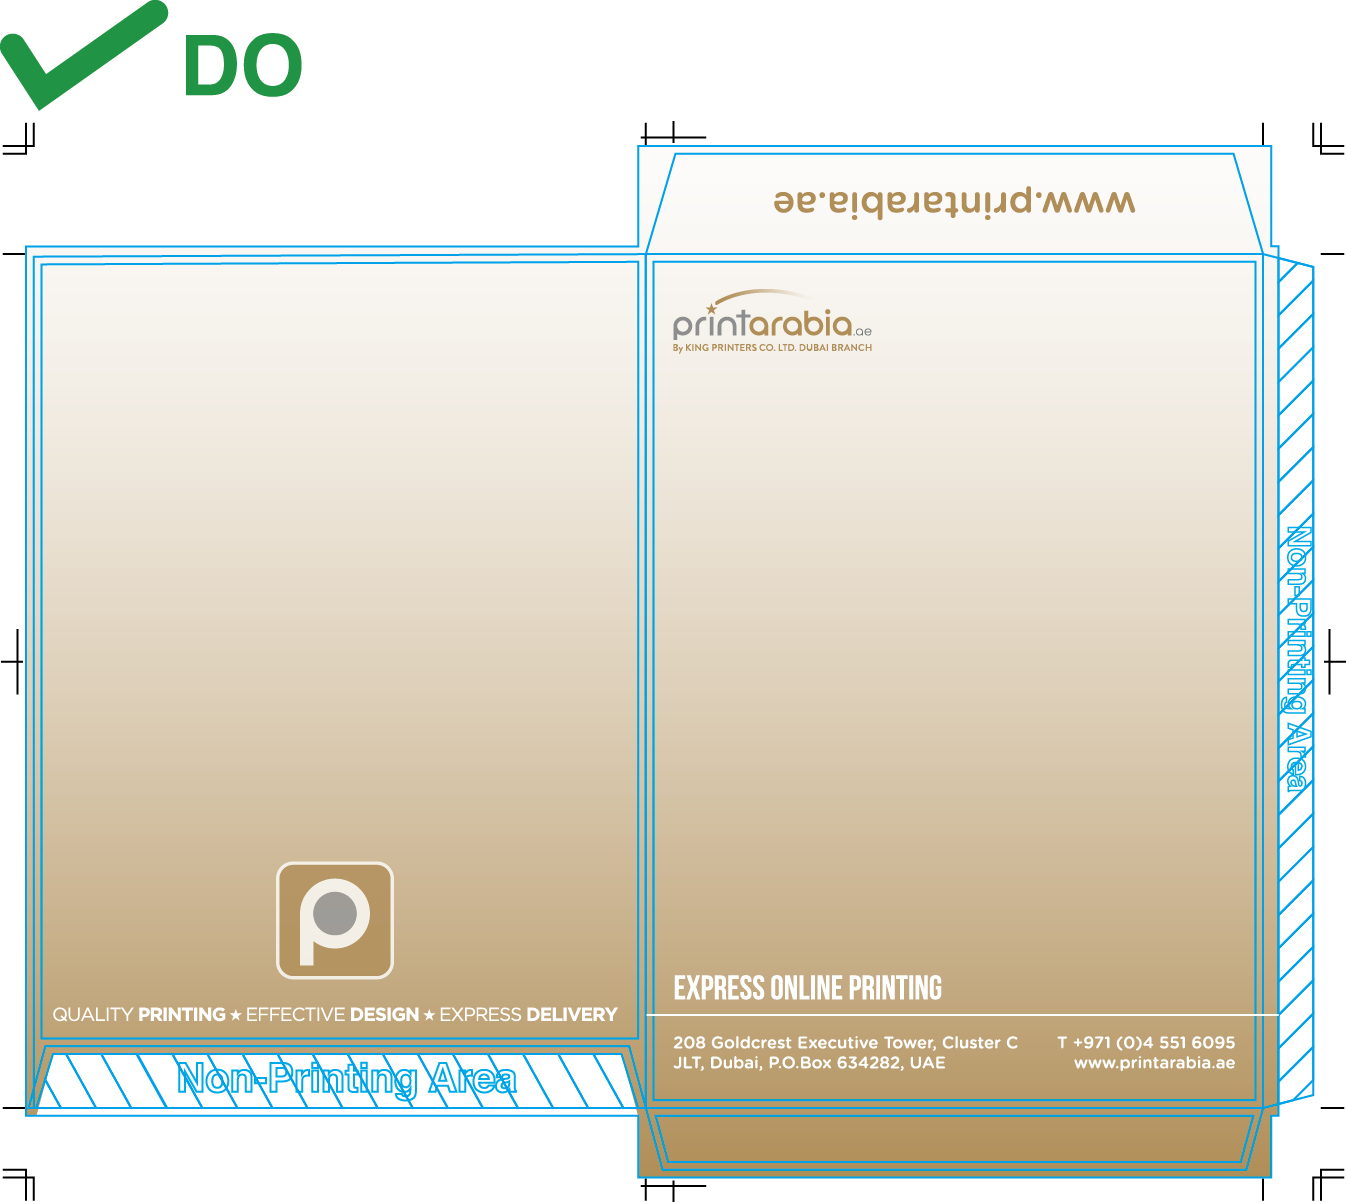
Taking in account the height of the flap and how it impacts the back side of the envelope, maybe it’s better to keep those little bits of information, images or vectors further down in the layout.





 info@metroprint.ph
 0945 826 3908
 0945 826 3908