What are Trim Marks?

{[ shareCounters.email || '40' ]}

{[ shareCounters.facebook || '40']}

{[ shareCounters.twitter || '40']}

{[ shareCounters.whatsapp || '40']}

{[ shareCounters.linkdin || '40']}

{[ shareCounters.print || '42']}
Creating Data
What are Trim Marks?
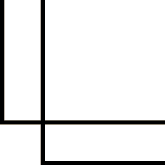
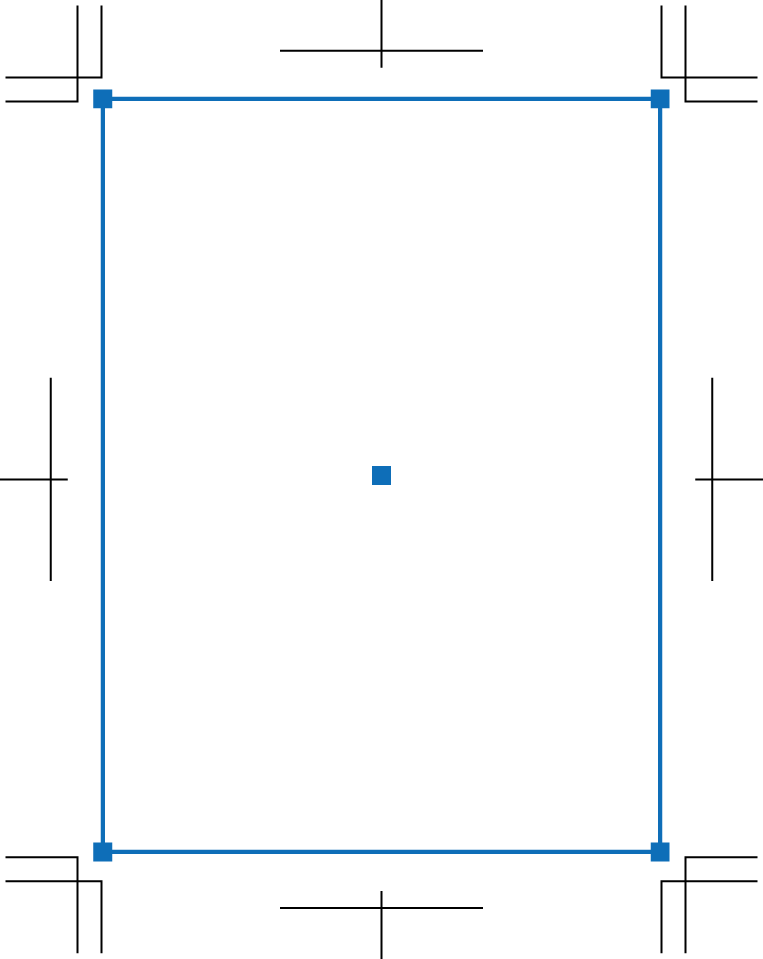
Trim marks — also called crop marks — are thin lines placed at the corners of your artwork that indicate where the paper should be trimmed after printing. Trim marks are extremely important because they help the person cutting know exactly where to cut your finished piece. We use Japanese trim marks, which are a little different to Western marks. Japanese trim marks are double lines 3mm apart, where as Western ones are single ones.
Let’s go over the marks you can see in our layout templates.
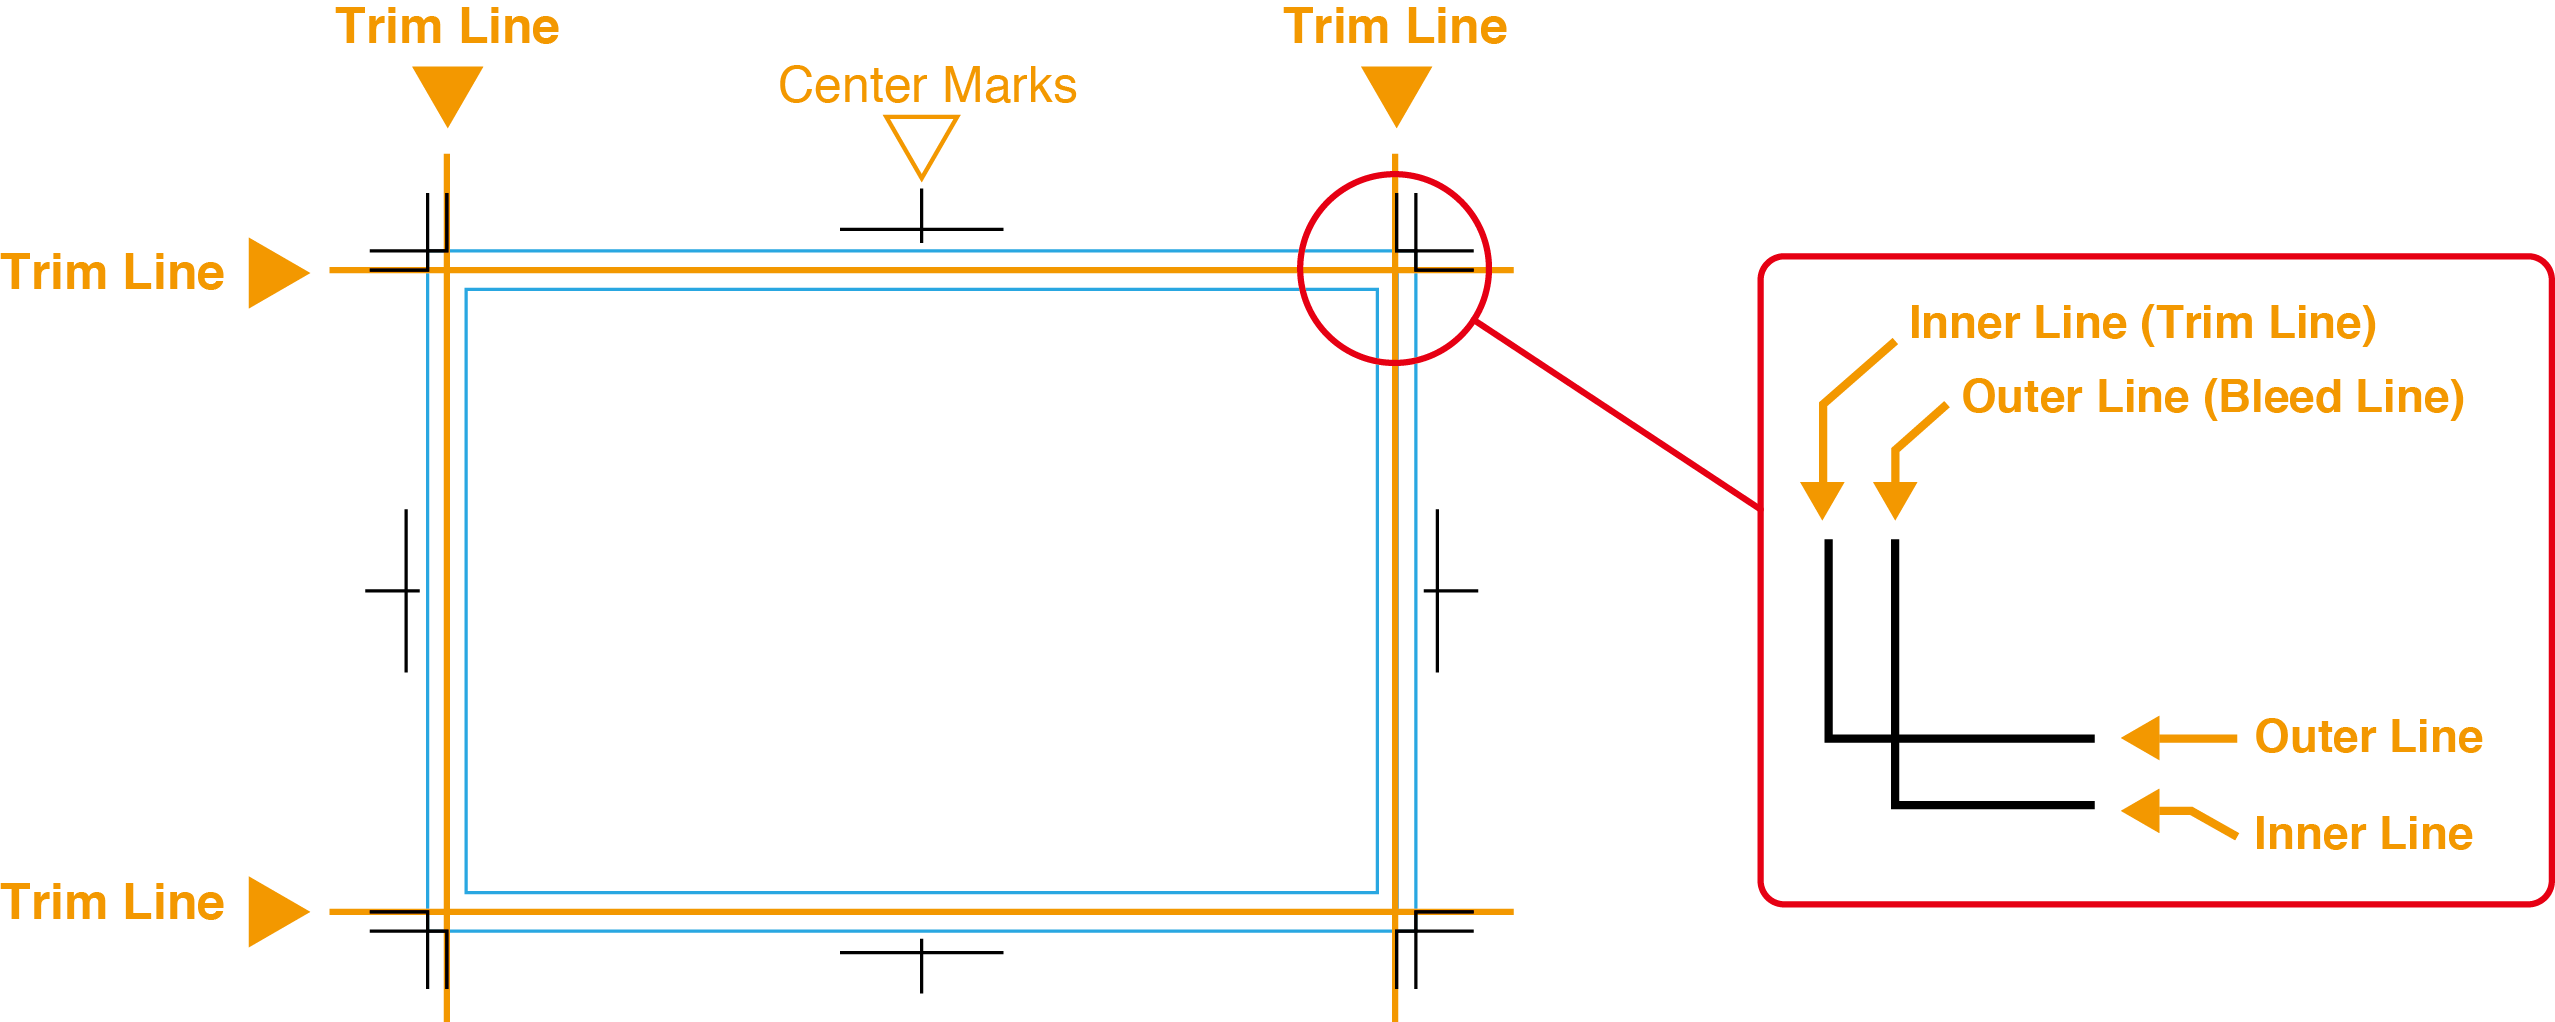

Trim Marks use registration colour to check for misalignment during printing. If any of the printing plates are misaligned, the colour ink will show which one, and we can make adjustments to re-align them.
When the 4 colours overlap perfectly, there is no misalignment. In 4 colour process printing blacK is printed first, then Cyan, Magenta and Yellow inks are printed afterwards.
Note: Registration colour is made up of 100% ink coverage of each of the CMYK inks.C:100% M:100% Y:100% K:100%.You should never use registration colour in your design.Over saturated inks will not dry properly, leading to other problems such as causing sheets to stick to each other or ink setting.
How to create Trim Marks?
There are a few ways to create trim marks in Illustrator but we will only cover the basic way. As mentioned above, we use Japanese crop marks in all of our layout templates. First, lets make sure you have the same settings enabled.
From the menu at the top,
choose Illustrator > Preferences > General
(on Windows computers File > Preferences > General)
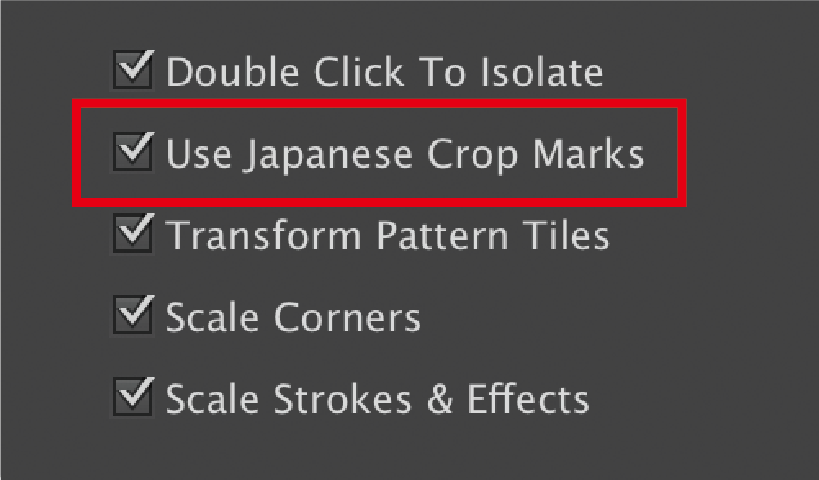
This will open a window with lots of options, most
will be pre-checked. On the far right, you should
see ‘Japanese Crop Marks’, please check that box.
Now that we’re ready, let’s get started
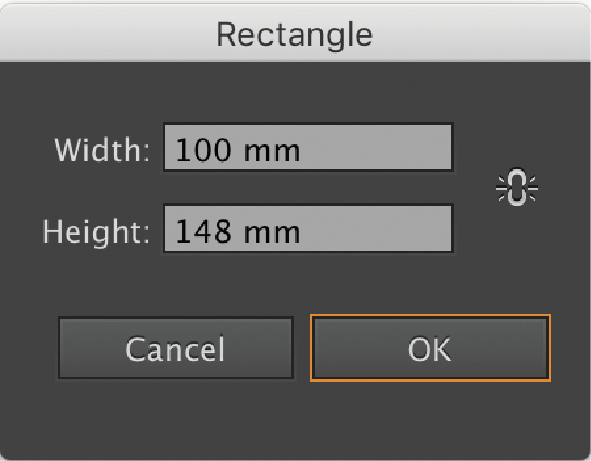
Open your existing artwork, or create a new file (File > New). Draw a rectangle the size of your artwork. Select the rectangle, then from the menu up top, click on ‘Object’ then ‘Create Trim Marks’. This will draw the double line marks around the rectangle you just drew.
Step 1
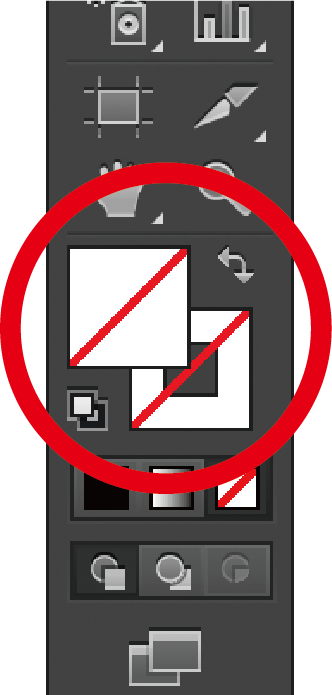
On Tools palette, set the Fill and Stroke to none.
Step 2
Create a rectangle the size of the finished print size you want.
Step 3
Select the rectangle you have just created.

Step 4
From the menu up top, click on Object, then Create Trim Marks
If you’re using Photoshop to create your design, we strongly suggest you download and use our blank templates. They are loaded with the necessary guide lines and information on what goes where (please remember to delete the layer with our information before submitting your artwork for print). Trim marks are not necessary for Photoshop data, however your artwork should have the guide lines to indicate the Bleed and Trim lines.
Whether you use Illustrator or Photoshop to set up your artwork, Metro Print has created product templates for all our standard products, shapes and sizes. All of our Illustrator templates convenient and easy to use, as they are pre-loaded with the necessary trim marks. If you are creating custom size artwork, you are required to create the trim marks yourself.
 Creating Data
- Text To Outline
- What Is Bleed
- Link & Embedded Images
- Safety Area
- Image Resolution
- Full Colour Printing
- File Formats
- Designing For Folds
- What Are Trim Marks
- Cmyk Vs. Rgb
- Different Blacks
- Text Size & Line Weights
- Working Guides
- Spot Colours
- Working With Layers
- Stray Points
- Printing In Grayscale
- Photoshop Guide
- Photoshop Round Sticker
- Overprint


 info@metroprint.ph
 0945 826 3908
 0945 826 3908