What are guides?

{[ shareCounters.email || '40' ]}

{[ shareCounters.facebook || '40']}

{[ shareCounters.twitter || '40']}

{[ shareCounters.whatsapp || '40']}

{[ shareCounters.linkdin || '40']}

{[ shareCounters.print || '41']}
Creating Data
Working guides
Guides help you align text and control graphic objects with ease in Illustrator.
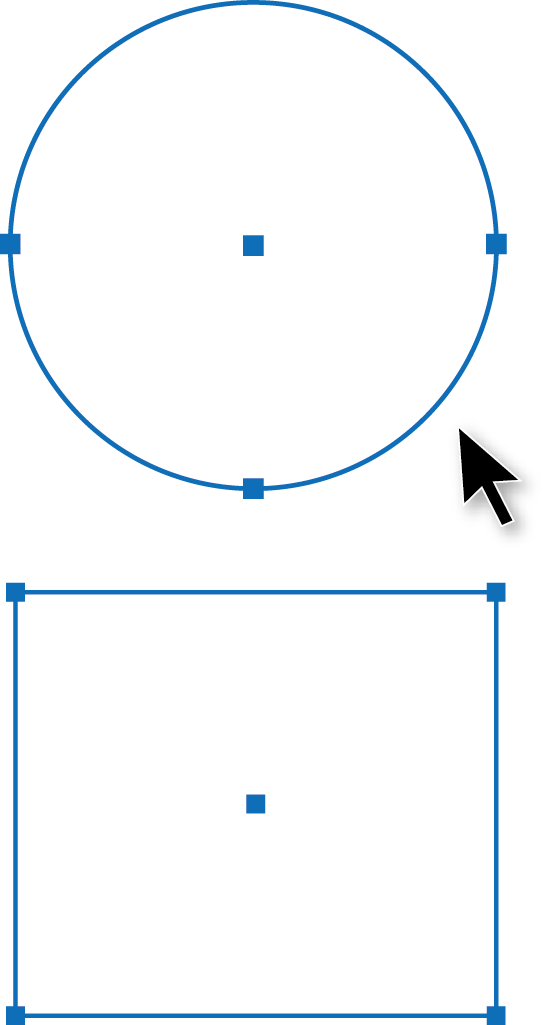
Straight line guides can be created by holding and dragging out from the ruler. Or, you can use any pretty much any path to make a guide.
This means you can use a rectangle, circle or hand-drawn paths as a guide.
By default guide lines are light blue, solid lines but they can be edited to be any colour or to dots by adjusting the Illustrator preferences.
Don’t worry, these lines do not print!
When you create guides they are unlocked so you can move them, modify them, delete them or lock them in place when you are done with them.
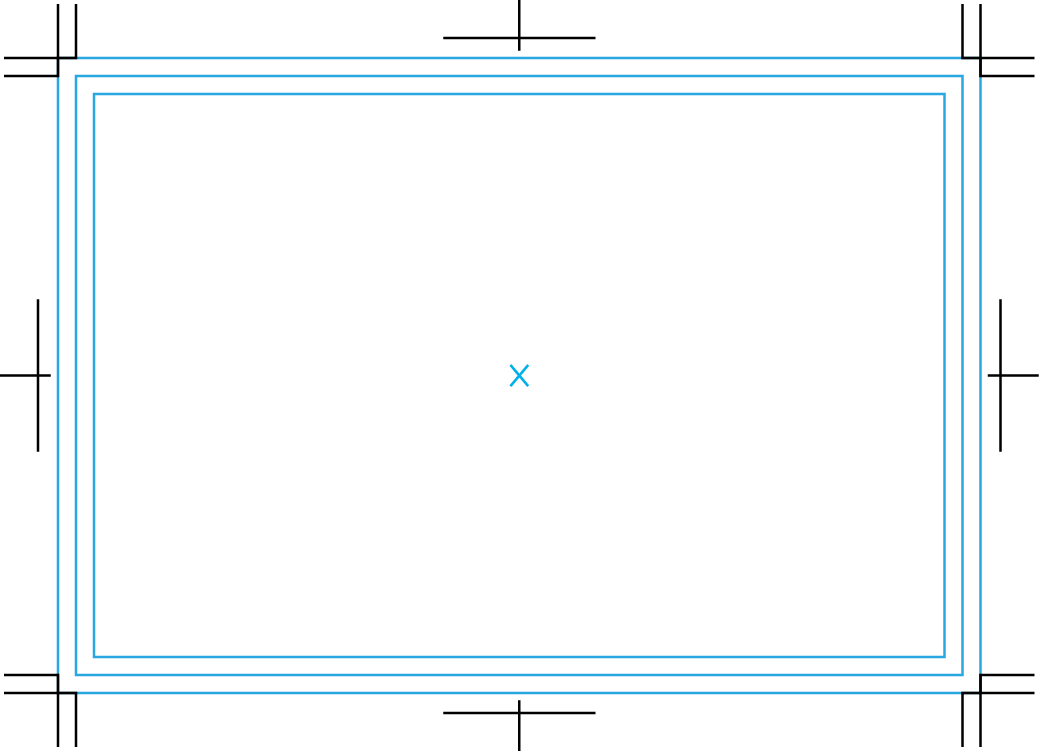
Before we start off lets make sure you have set guides as viewable or you won’t see them! You can check by selecting the menu up
top: View > Guides > Show Guides. Now, you may see 3 guide rectangles on our template now, the outer one represents the bleed area, the middle one represents where the trimming will happen
and the innermost one represents the safety area, where you should keep all your important content inside of.
Creating object guides in Illustrator
Converting an object into a guide is really simple. Follow the steps below to learn how to create object guides.
Step 1
Select a tool on the left and create your shape.
Step 2
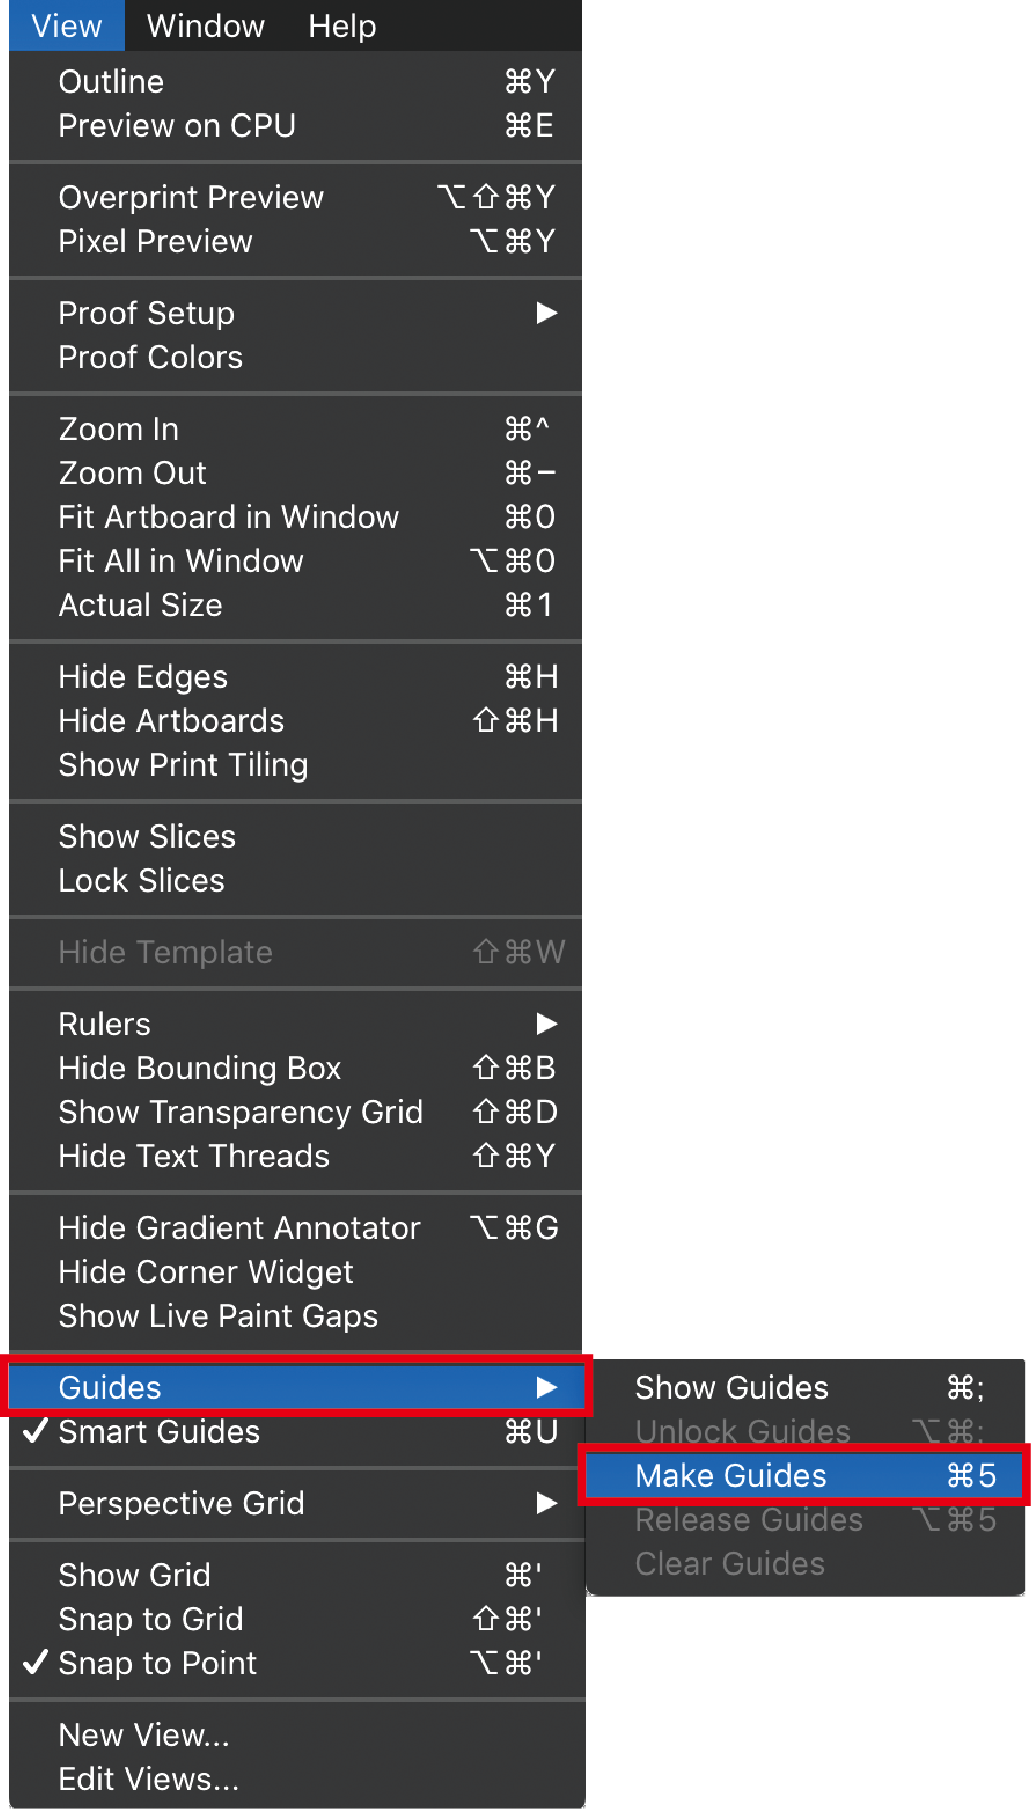
Select the object you want to make into a guide, then from the View menu go to Guides > Make Guides.
Step 3
Voila! You have a guide in
the shape of your
object.

Creating line guides in Illustrator
Straight horizontal or vertical guides can be created by clicking on the ruler area, and dragging out with your mouse.
Step 1
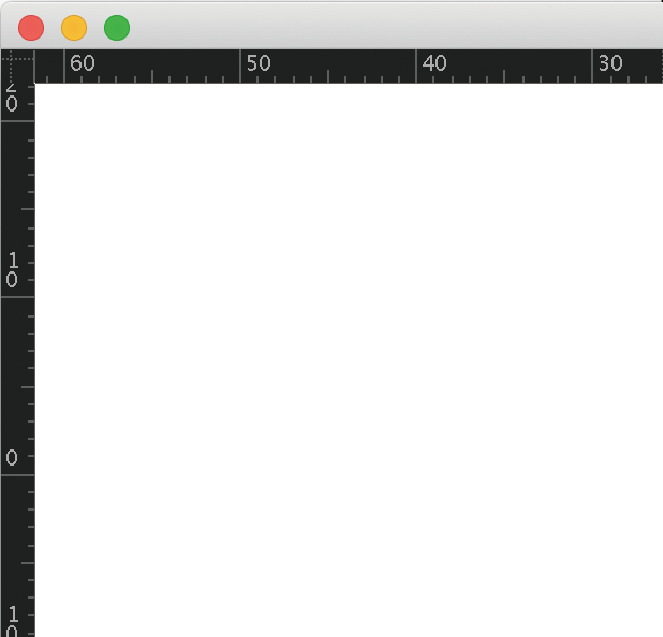
First, lets check that your rulers are turned on. Do you see rulers at the top and left of your screen?
If not, then let’s enable them. From the View menu go to Rulers > Show Rulers.
The Rulers are hidden The Rulers are visible
Step 2
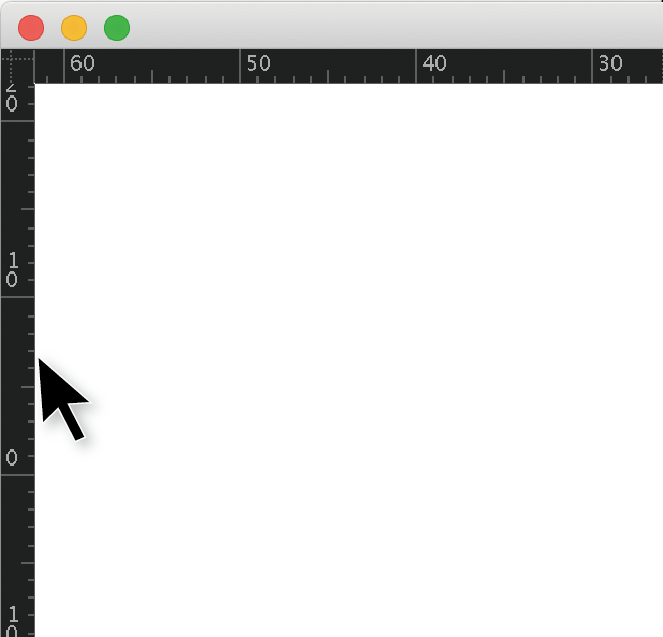
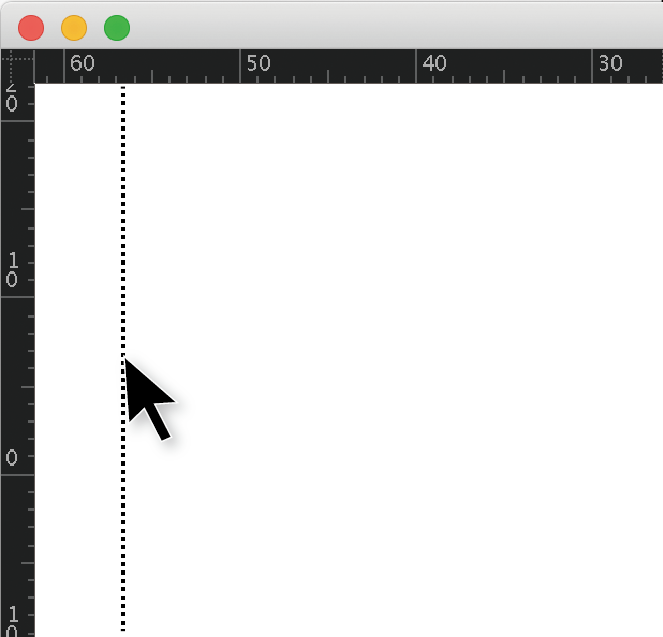
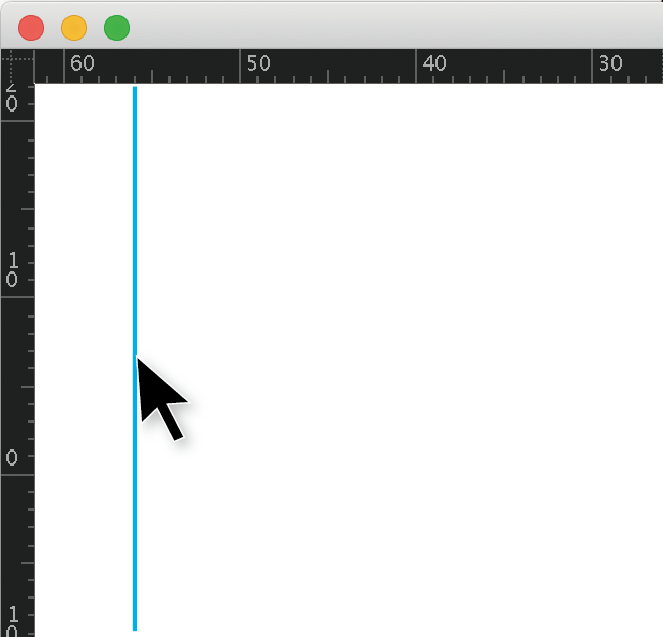
Position the mouse cursor on the left ruler to make a vertical guide or on the
top ruler to make a horizontal guide. Then, drag the guide into position.
Click and hold the left ruler Drag towards the right Release the mouse button and you have a guide!
To lock / unlock, delete or release guides
To lock the guides: select View > Guides > Lock Guides
To unlock the guides: select View > Guides > Unlock Guides
To delete one guide, click on the guide you want to delete and Edit > Cut - or - Edit > Clear
To delete all guides at once: select View > Guides > Clear Guides
To release the guide (turning it back into a regular object),select the guide and choose View > Guides > Release Guides
Converting text into guides
Something else you can create guides from is text. This can come in handy when you need to leave important information regarding direction, orientation, folding area, or any other non-printing notes.
Select your text. Convert to outlines by selecting: Type > Create Outlines
Then, select your outlined text and from the View menu and select: Guides > Make Guides

Editable text

Outlined text

Guides
 Creating Data
- Text To Outline
- What Is Bleed
- Link & Embedded Images
- Safety Area
- Image Resolution
- Full Colour Printing
- File Formats
- Designing For Folds
- What Are Trim Marks
- Cmyk Vs. Rgb
- Different Blacks
- Text Size & Line Weights
- Working Guides
- Spot Colours
- Working With Layers
- Stray Points
- Printing In Grayscale
- Photoshop Guide
- Photoshop Round Sticker
- Overprint


 info@metroprint.ph
 0945 826 3908
 0945 826 3908